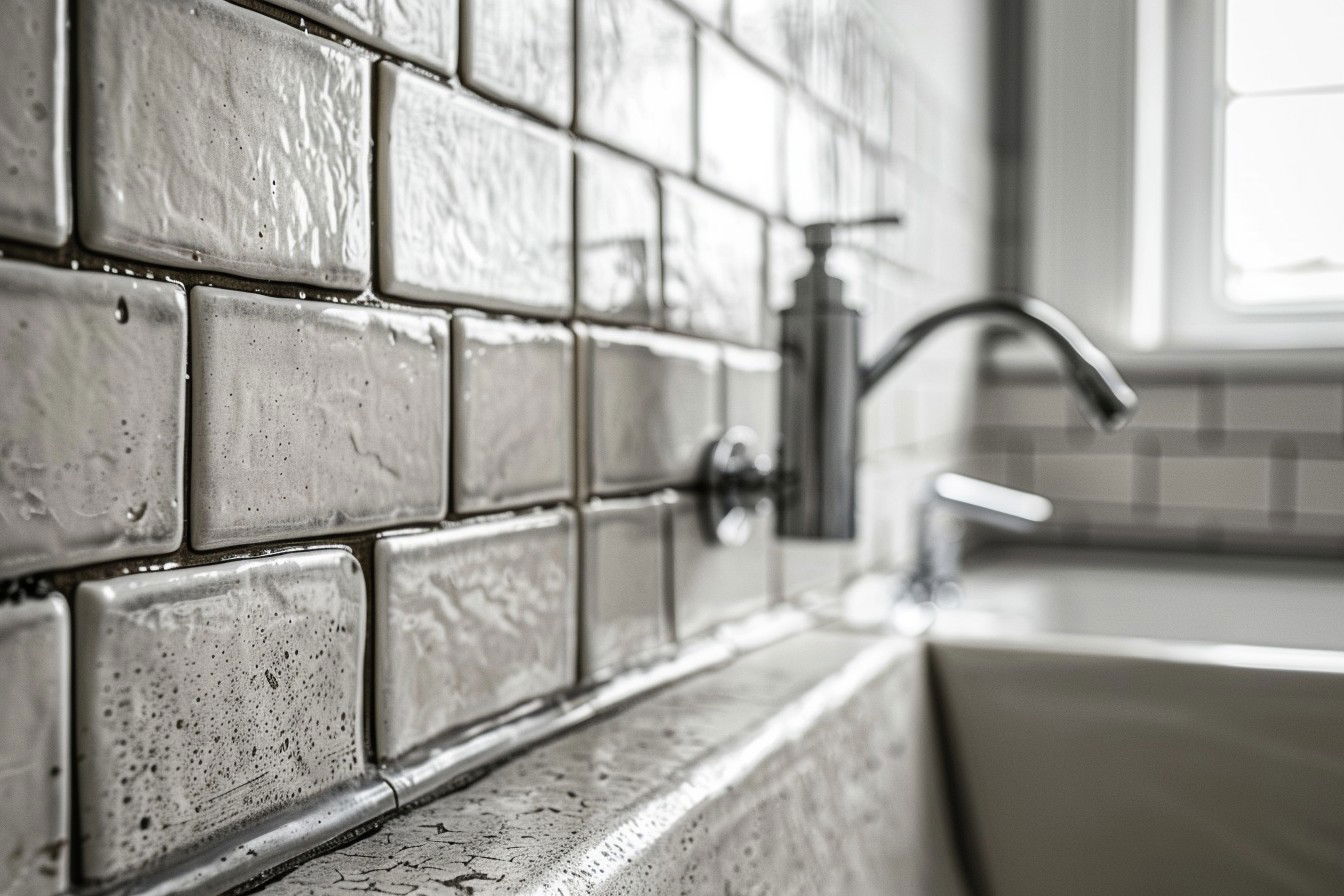
There’s a particular moment of reckoning that happens in most bathrooms at least once. You’re standing in the shower, idly waiting for the conditioner to work, and you actually look at the grout. Not a cursory glance — a proper look. And what you see is not the crisp white lines that were there when you moved in, but something ranging from a disheartening beige to a full-on tobacco brown, with a few patches that have ventured into territory that frankly doesn’t bear thinking about. If you’ve had that moment, this article is for you. The grout is not ruined. It is not a lost cause. With the right approach and a bit of patience, it can come back — and we’re going to walk through exactly how.
Why Grout Goes Brown in the First Place
Understanding the enemy is half the battle, as any good general will tell you — though admittedly most generals weren’t crouching over a shower tray with a toothbrush.
Grout is a cementitious material, which means it’s porous by nature. Every splash of water, every cloud of steam, every bottle of shampoo that gets knocked over and runs into the tile joints is an invitation. What moves in most aggressively is a combination of soap scum, body oils, mineral deposits from London’s reliably punishing hard water, and — the real villain of the piece — mould and mildew. Mould spores are airborne, and a warm, damp bathroom with limited ventilation is their idea of a five-star hotel. Given enough time, they establish themselves in the porous surface of the grout and begin the slow, steady process of turning it from white to brown to a shade that polite people don’t name.
The other factor is that grout is often left unsealed after installation, or the sealant wears off after a year or two and nobody notices. Unsealed grout absorbs everything — staining pigments, minerals, biological matter — and holds on to it. This is why a bathroom that looks clean at a glance can still have grout that tells a very different story up close.
Assess Before You Attack
Before reaching for the strongest thing under the sink, take two minutes to look at what you’re actually dealing with. Grout discolouration comes in a few distinct types, and they respond to different treatments.
Surface staining — soap scum, mineral deposits, general grime — sits on top of or just within the grout surface. It looks dark and grimy but hasn’t penetrated deeply, and it will respond well to an alkaline cleaner and some physical scrubbing.
Mould and mildew contamination is a different matter. If your grout has patches of black, dark green, or brown that seem to bloom in the corners and along the base of the shower, you’re dealing with live biological growth. This needs a disinfecting agent, not just a degreaser.
And then there’s the third category: deep, permanent staining or physical degradation where the grout itself has become crumbly, cracked, or permanently discoloured all the way through. At that point, no amount of scrubbing will help — the grout needs to be raked out and reapplied. We’ll come back to that.
Method One – Bicarbonate of Soda and White Vinegar (Light to Moderate Staining)
The classic pairing that decorating forums have been recommending since at least 2009, and it holds up. For grout that has drifted from white into beige or light grey, this combination provides a useful first line of attack.
Make a thick paste from bicarbonate of soda and a small amount of water — you want the consistency of toothpaste, not soup. Apply it generously along the grout lines, then spray or drizzle white vinegar over the top. The resulting fizzing is satisfying in a primary-school science experiment kind of way, and it’s doing actual work: the reaction creates a mild carbonic acid solution that helps to lift surface deposits and loosen grime. Leave it for 10 to 15 minutes, then scrub with a stiff-bristled grout brush or an old toothbrush, rinse thoroughly, and assess.
One honest caveat: this method has a ceiling. If your grout is genuinely brown, not just a tired beige, a bicarbonate paste will improve it but probably won’t transform it. It’s an excellent maintenance tool and a reasonable starting point, but don’t expect miracles from moderate-to-severe staining.
Method Two – Oxygen Bleach (Moderate to Heavy Staining)
Oxygen bleach — sold under various brand names, or available as sodium percarbonate in bulk from cleaning suppliers — is where things start to get properly effective. Unlike chlorine bleach, it’s colour-safe, far less aggressive on grout sealant, produces no harsh fumes, and it genuinely excels at lifting deep organic staining and mould contamination.
Mix the powder with warm water according to the product instructions to form a solution or paste, apply it directly to the grout lines, and leave it to dwell. This is not a spray-and-wipe situation — dwell time is everything. For moderate staining, 20 to 30 minutes. For heavy discolouration with visible mould, leave it for up to an hour, keeping it moist by reapplying if it starts to dry out.
After dwell time, scrub with your grout brush and rinse thoroughly. The results at this stage are often dramatic enough to produce an audible reaction from whoever’s watching. Keep the bathroom ventilated during the process and wear gloves — oxygen bleach is gentler than chlorine, but it’s still a bleaching agent and your hands will thank you for the consideration.
Method Three – Chlorine Bleach Gel (Severe Staining and Mould)
For grout that has gone full brown, or where mould has established itself so deeply that oxygen bleach hasn’t fully cleared it, chlorine bleach gel is the heavy option. The gel formulation is important — it clings to vertical grout lines instead of running straight off them, which liquid bleach will do immediately and uselessly.
Apply the gel carefully along the grout lines using the nozzle or a cotton wool pad — the more precise your application, the less you’ll have to worry about surrounding surfaces. Leave it to dwell for 20 to 30 minutes, no longer on older or unsealed grout, as prolonged chlorine exposure can weaken it. Rinse extremely thoroughly.
Ventilation is non-negotiable here. Open windows, run the extractor fan, keep the door open — chlorine fumes in a small enclosed bathroom accumulate quickly, and this is not a situation where “a quick five minutes” with the door shut is good practice.
A note on coloured or dark grout: always patch-test chlorine bleach in an inconspicuous area first. It will do exactly what it says on the tin to anything it contacts, including grout colours that aren’t white.
The Grout Brush: Your Most Important Tool
Whatever method you’re using, the physical tool doing the scrubbing matters more than most people realise. A general-purpose sponge or cloth will skate over the surface of grout lines without doing much. You need bristles — stiff ones, narrow enough to work along the grout joint rather than spreading across the tile face.
A dedicated grout brush is ideal and costs very little. An electric toothbrush repurposed for the task is an excellent upgrade. If you’re working on a large tiled area — say, a fully tiled shower enclosure with floor-to-ceiling tiles — an oscillating multi-tool with a grout brush attachment will save you considerable time and the kind of hand cramp that lingers for days.
Scrub along the grout line, not across it. It seems obvious written down, but across is the instinct, and along is the technique.
After Cleaning: Seal the Grout
This is the step that almost everyone skips, and it is the reason the grout is brown again within six months of being restored. Clean grout is open and porous. Sealed grout is protected.
Once your grout is clean and completely dry — and it does need to be completely dry, which in a London bathroom in November may require a little patience and a fan heater — apply a penetrating grout sealer with a small brush or the applicator bottle that most products come with. Wipe off any excess from the tile faces, leave it to cure for the time specified on the product, and then carry on with your life knowing that the next clean will be a fraction of the effort.
Reseal once a year, or whenever you notice water is no longer beading on the grout surface. It takes 20 minutes and it is the single most effective preventative measure available to you.
When the Grout Needs to Go
Sometimes the answer isn’t a deeper clean or a stronger product — it’s acceptance. If your grout is cracking, crumbling, or has staining so deeply embedded that multiple rounds of treatment have made no meaningful difference, it has reached the end of its useful life. Raking it out and regrouting is a straightforward job for a tiler and makes a genuinely transformative difference to how a bathroom looks and functions.
The same applies when grout failure has allowed water ingress behind tiles — a problem that starts as an aesthetic issue and ends as a structural one if left alone. Tiles that flex slightly underfoot or sound hollow when tapped are telling you something, and it’s worth listening.
If your bathroom has reached the point where the grout is just one item on a longer list of things that need professional attention, that’s a conversation worth having with a deep-clean specialist. Sometimes a single thorough intervention — grout, limescale, sealant, extraction — resets a bathroom entirely and buys years of straightforward maintenance. London properties accumulate grime faster than most, but they clean up beautifully when the right approach is applied. Your grout included.